We used our Royal Selangor Jelly Mould to make…
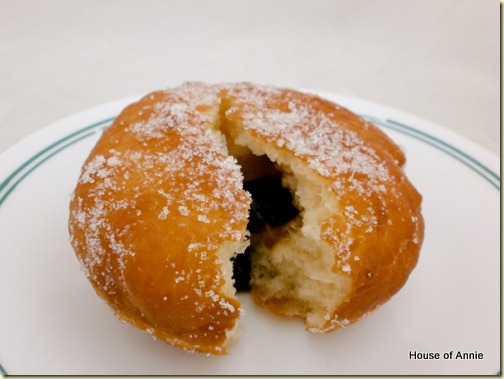
Jelly Doughnuts
The whole point about the Jellyriffic “Get Your Jelly On” challenge is to come up with 30 days’ worth of creative uses for the jelly mould. Over the past week, we’ve done lots of jellies like Dragonfruit Agar-Agar, “Michael Jackson” Agar-Agar, Sirap Selasih Konnyaku, and White Coffee Konnyaku. All interesting jelly recipes, to be sure. But we’ve not really begun thinking “outside the cone” until now.
Annie’s been wanting to try making doughnuts, even though she’s not much in to deep frying. This challenge seemed like the perfect opportunity for us to try something we’ve never done before (same like the Easy Chicken Terrine recipe we did the other day). She found a doughnut recipe that looked easy and decided to make it this weekend.
Here’s how we did it.
Prepping the Dough
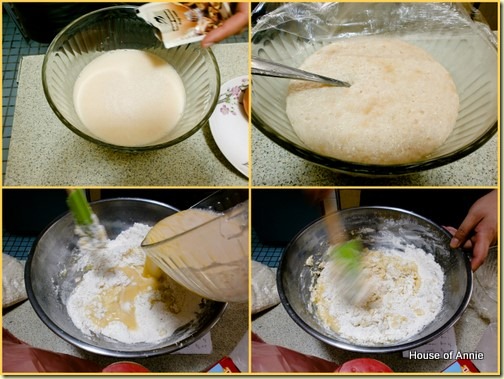
The doughnut recipe we used came from BestRecipes.com.au. It starts off by mixing together 14 grams of yeast, 1/4 cup warm water, 1 cup warm milk and 1/4 cup caster sugar. The mixture is allowed to stand for 10 minutes while the yeast starts to get active. Then 60 grams of butter and 2 eggs go in.
We added the wet ingredients to the 3-3/4 cups dry flour, mixed it together to incorporate everything, and let that stand until the dough had doubled in size.
Kneading, Rolling and Cutting
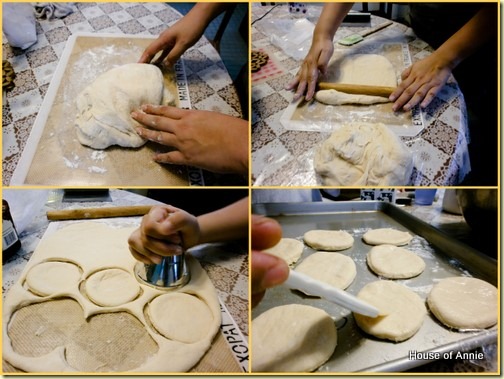
After the dough had risen, Annie turned it out onto a floured silicone mat to knead. At first, it was very sticky but with enough kneading and more flour the dough eventually came together. It was quite soft.
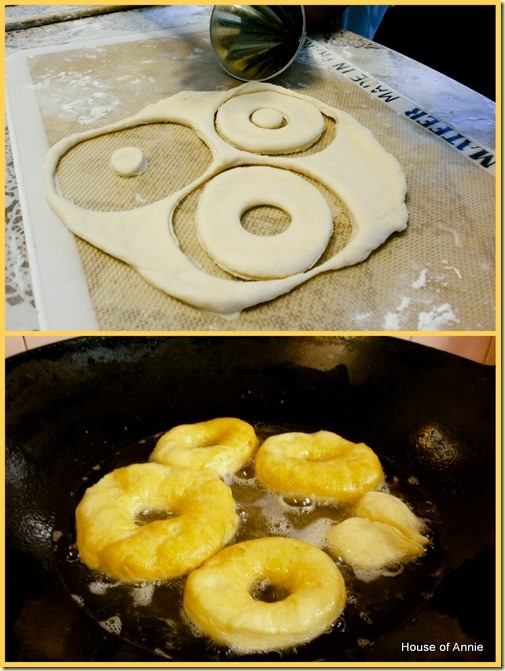
Annie divided the dough in half and rolled it out to about 1 cm thickness. Then we used the jelly mould to cut out rounds from the dough. Half of the rounds we brushed with an egg white wash and the other half we left alone.
Filling, Pinching and Frying
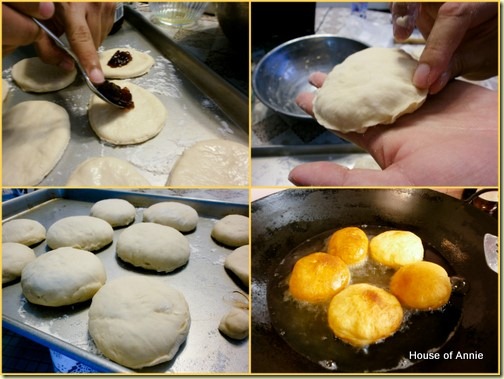
On the egg-washed round, we dropped a teaspoon of plum jam (the same jam we used for our Soy Milk Panna Cotta recipe) and then covered the round with the unwashed round. She pinched the rounds together and smoothed out the edges. They sat for another 15 minutes to proof.
After that, it was just a matter of heating up some oil and deep frying the doughnuts.
Holey Doughnuts!
We also made regular doughnuts with holes by using a small cookie cutter to cut out the center of a large round. Of course, we fried both the doughnuts AND the holes! 🙂
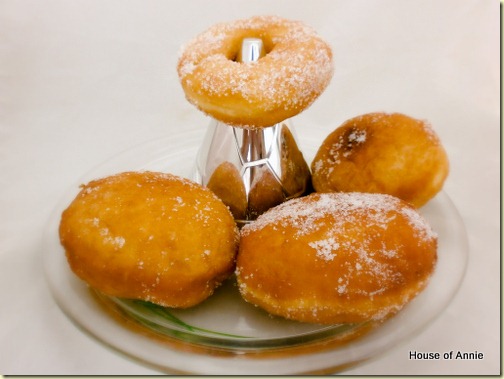
Both doughnuts got a sugar sprinkle treatment after coming out of the oil. Here’s some of the final result. Note the second creative use of the jelly mould: a doughnut holder 😉
Jelly and Regular Doughnuts
Reactions
The doughnuts were good when eaten hot out of the oil. But they didn’t have the flavor we were looking for. On top of that, they were pretty “doughy”. So we didn’t eat up all of the doughnuts. I think we’ll probably use the leftover doughnuts to make bread pudding instead.
Oh well, it was a good learning experience, and we got to try something that we haven’t done before. If anyone out there has a good doughnut recipe that you think we ought to try, please leave a comment and let us know!
I’m entering this post in the weekly Yeastspotting roundup, hosted on WildYeastBlog.
Aloha, Nate
The American Cancer Society recommends annual mammograms for women 40 years and older, a clinical breast exam every 3 years for women in their 20’s and 30’s, and Breast Self Exams as an option for women starting in their 20’s. For more information, visit the American Cancer Society website.
Cool idea…”jelly” in a different form. I love fried anything so I’m game for the doughnuts idea.
Hey Nate, great try with the donuts and a clever / handy use of the mould. I had a misadventure with plain donuts once too… I’m sure in the pudding they will be great!
Wow Impressive..this is sumting like out of the box.Creative!Thumbs up!!
Ahhh would never have thot of using them as cutters!
When I think of the amount of times I’ve ‘soothed myself’ or been soothed, with jelly (jello) as a little one. While those times were years ago