Update: We have posted a better recipe for snowskin mooncakes. Click the link to go there now!
After the success of our Pandan Spiral Mooncakes, we wanted to try our hand at making another kind of mooncake – the ping pei or “snowskin” mooncake.
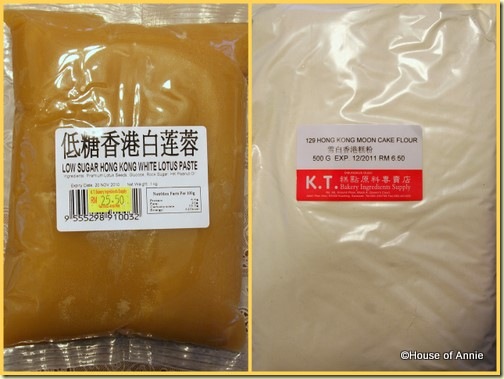
Snowskin mooncakes are not baked like traditional mooncakes are. Though the fillings may be the same (red bean, lotus seed paste, etc.), the outer layer of the cakes are made from glutinous rice flour and have the texture of soft mochi. This skin actually uses a special glutinous rice flour that has already been cooked to get rid of the raw taste. Annie picked up the packages for the filling and flour from our local baking supply store. The store also gave her a basic recipe for making the mooncakes.
Snowskin Mooncake Filling and Flour
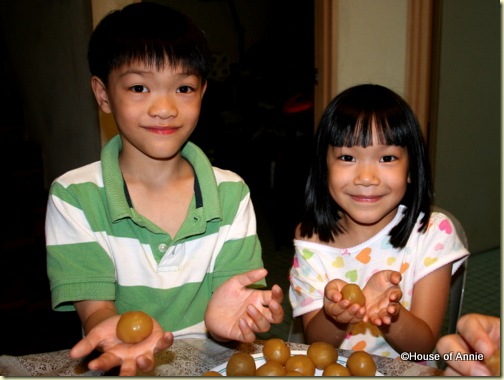
The kids got involved by rolling out balls of filling after Annie separated them into 30-gram chunks.
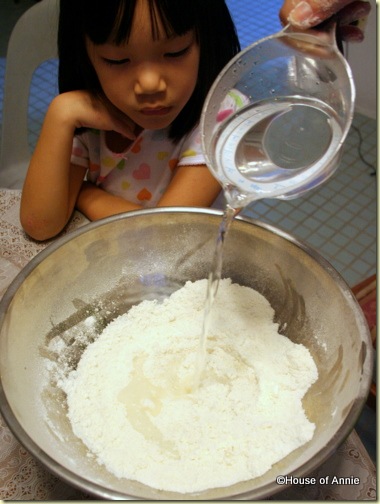
The basic recipe for the skin dough calls for 120 grams of the cooked glutinous rice flour, 50 grams of vegetable shortening, 120 grams of icing sugar, and 140 ml of warm water.
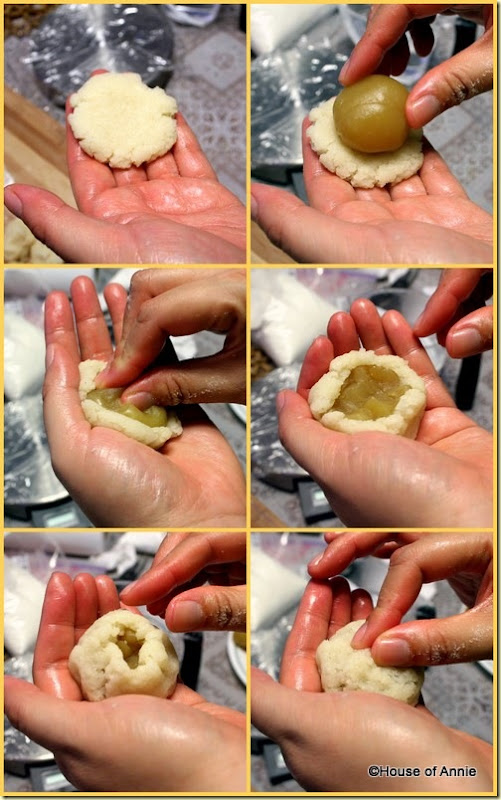
After stirring the ingredients together, Annie kneaded it until it became a large mass of dough. She then measured the dough out into 20-gram chunks. Taking a chunk, she rolled it into a ball, then flattened it into a disc. Then she placed one of the balls of filling in the middle.
By pressing the filling into the dough while also shaping the dough around the filling, she was able to stretch the skin around the ball and then pinch it closed. After rolling the closed off cake into a ball, she dusted the ball with a little of the glutinous rice flour.
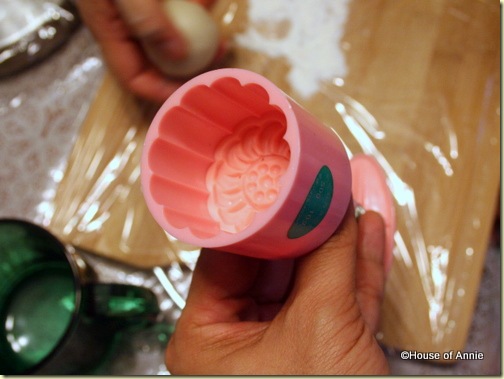
We had purchased this plastic, spring-loaded mooncake mold at the baking supply store. It can handle 50-gram sized mooncakes, and comes with four different interchangeable design plates.
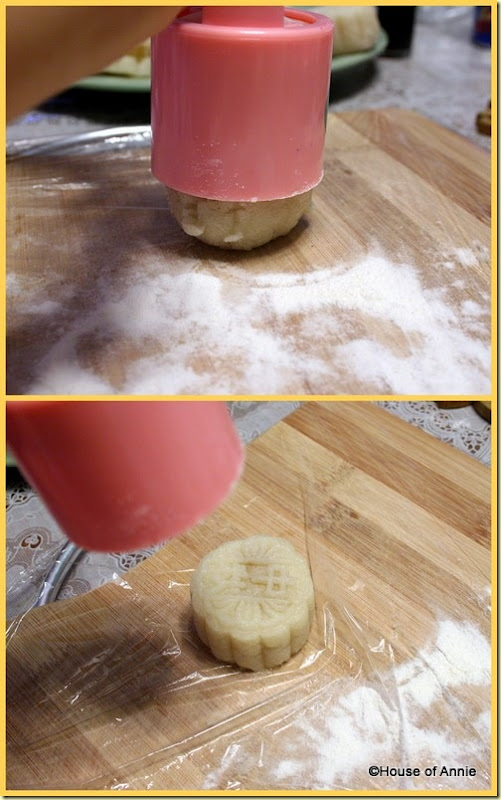
Placing the mooncake ball on a flat surface, you cover the ball with the mold and then press down on the plunger. The ball then receives its final shape and design. Lift up the mold, push the plunger all the way down, and out pops the completed mooncake.
You’re supposed to chill the finished mooncake for at least 20 minutes for it to set.
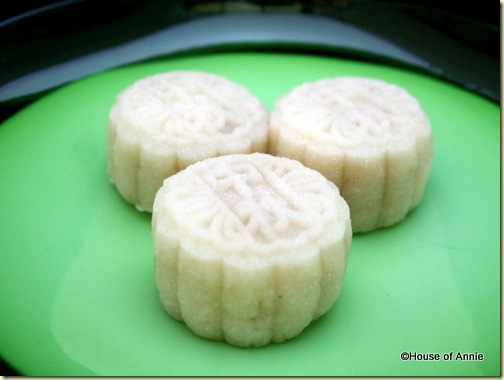
Not bad for a first attempt. It was pretty easy to put together. But we weren’t completely happy with the texture of the skin. It was too grainy for us. Not like some other snowskin mooncakes we’d seen on sale at the various shops around town.
When we went back to the baking supply store for more filling, we told the proprietor about our results. He said that this is how the basic recipe turns out, and gave us a few more recipes which call for more ingredients and a more involved process. We’ll try a couple recipes out and let you know our results!
Have you done snowskin mooncakes before? Care to share your recipe for a really smooth mooncake skin? Leave a comment (and a link if you have one handy) below!
Aloha, Nate
Why is 140ml warm water, i thot is cold water.
Thks im new leaner, 1 timer.
Wow! This looks fantastic!
Keep up sharing recipes, your blog is absolutely fantastic!